Oscilloscope Probes X1 X10 Explained Uk
Direct answer: for most everyday oscilloscope measurements, start with a properly compensated X10 probe and make sure the scope input setting also says 10X. Use X1 only for very small, low-frequency signals where extra sensitivity matters more than loading, bandwidth and noise performance.
Why the probe matters as much as the scope
The probe is part of the measurement circuit. If it loads the signal, the waveform on screen may be partly created by your test setup. That is why probe attenuation, compensation and ground-lead length can matter more than the headline scope model for beginner measurements.
X1 versus X10 in plain English
An X1 setting sends the signal to the scope with no ten-to-one attenuation, which can help with very small low-frequency signals. The trade-off is heavier circuit loading and lower usable bandwidth on many passive probes. An X10 setting attenuates the signal, but it usually raises input impedance and improves measurement behaviour for everyday electronics work.
Beginner checklist before trusting a waveform
- Match the switch and menu: if the probe is on 10X, the scope channel setting should also be 10X.
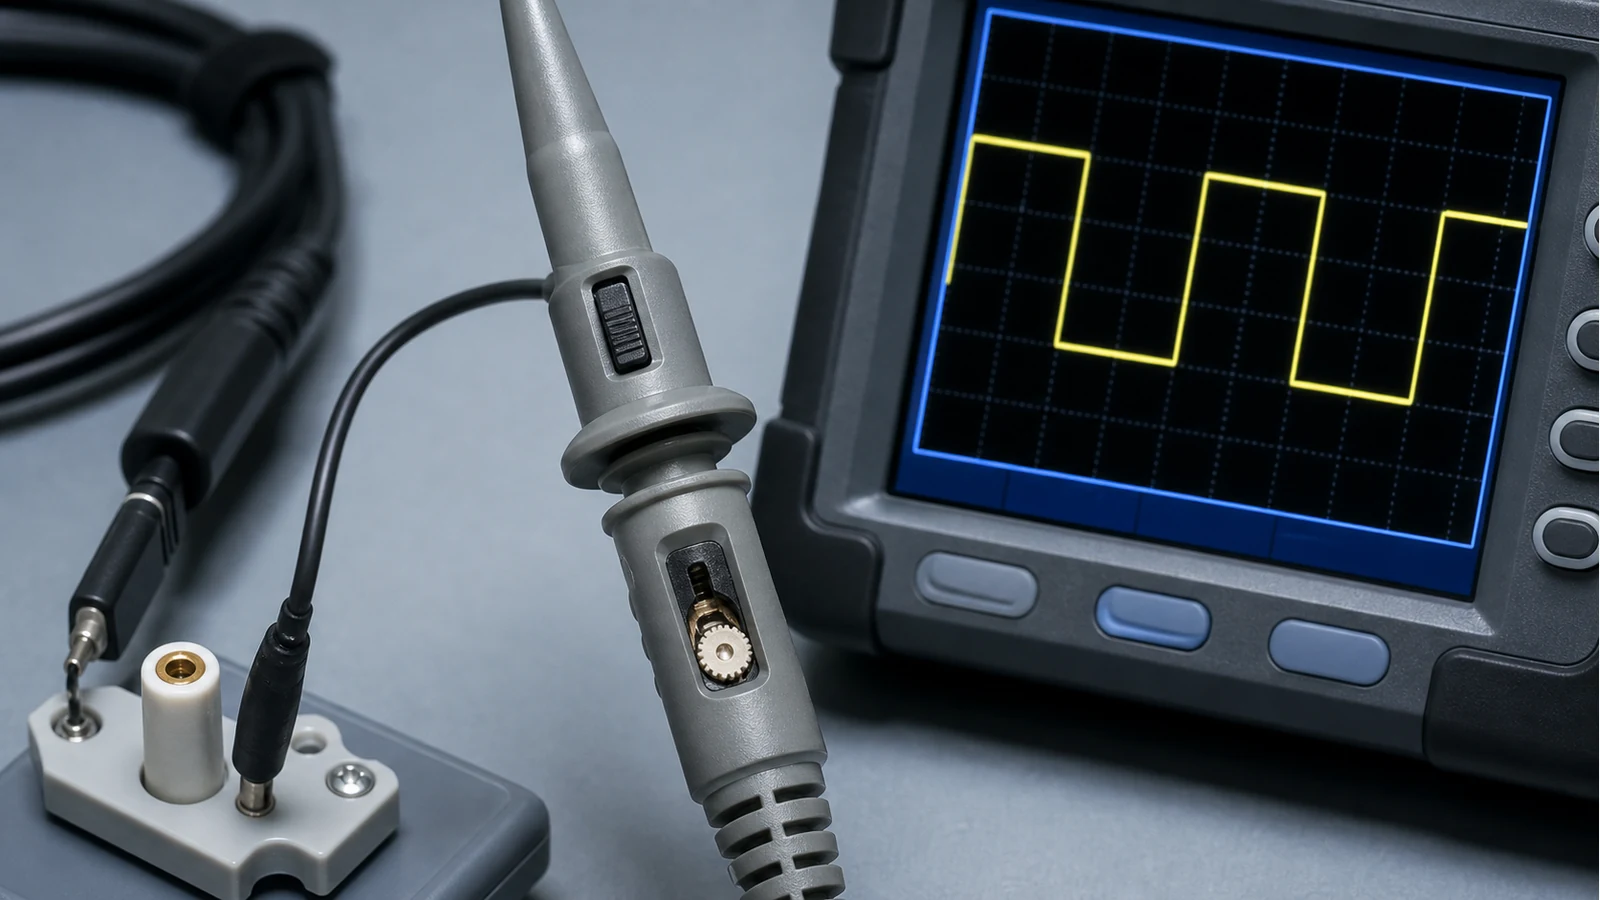
- Compensate the probe: use the scope calibrator square wave if available and adjust until the corners are neither rounded nor peaked.
- Keep ground short: long ground leads add inductance and can create ringing that is not really in the circuit.
- Check voltage markings: follow the probe and scope markings rather than a generic web rule.
- Record your setting: many beginner errors are simply a forgotten X1/X10 mismatch.
When alligator clips are acceptable
Alligator clips can be fine for low-frequency, low-risk learning circuits where convenience matters and precision is not the point. Use a proper probe tip and short ground for faster edges, small signals, noisy circuits or any measurement where waveform shape matters. For Arduino PWM or sensor debugging, this checklist should come before the signal guide; then use the Arduino scope guide or PWM measurement how-to.
What not to assume
Do not assume a scope automatically detects probe attenuation. Do not assume X1 is more accurate because the number looks simpler. Do not assume a long ground clip is harmless just because the signal is visible. Visibility is not the same as a trustworthy measurement.
Sources
- Rohde & Schwarz UK: Explains passive 1x vs 10x attenuation, loading, bandwidth and probe compensation fundamentals.
- Electronics Notes: Details X1/X10 probe impedance multiplication and when higher impedance probes improve accuracy.
- TME: Explains why compensated 10:1 probes are preferred and how compensation uses the calibrator square wave.